
How to Adjust Bicycle Wheel Bearings
Bicycle wheel bearings support the wheel hubs on the axles. Bearings require a certain amount of pressure, otherwise referred to as preload. The specific amount of preload determines the number of bearings that support the wheel hubs at any given time. Cone flats thread onto the axles and press bearing cones against the bearings. Adjusting bearing cone preload prolongs the life of the bearings. With proper preload, light drag should be noticed when spinning the wheels.
Wheels with quick-release levers present a challenge. Closing the lever alters the preload. Adjusting bearings on wheels that have quick-release levers may take several attempts.
Front Bearings
Turn the bicycle upside down and balance it on the seat and handlebars. Use towels or a piece of carpet to prevent scratches.
Put one hand on each side of the front wheel hub and push it back and forth between the forks. Noticeable lateral movement signifies the need to adjust the preload. Before making adjustments, spin the wheel easily and let it rotate. Ideally, the wheel should slow and stop in a relatively short time. Excessive spin signifies the need for preload adjustment.
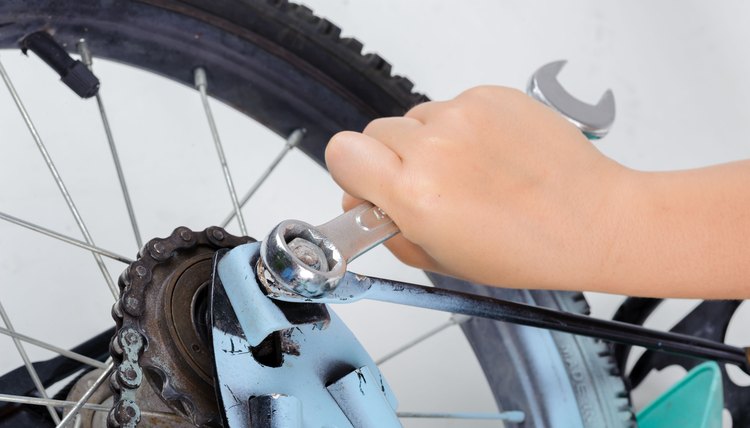
Loosen the axle nuts on each side of the front wheel counterclockwise with an open-end wrench. Remove the wheel from the forks.
Loosen the hub lock nuts counterclockwise on each side of the hub with an open-end wrench. Remove the lock nuts. Remove the spacers and bearing dust caps from the axle on each side of the hub.
Rotate the cone flats on each side of the wheel hub a quarter turn clockwise with the cone wrench. Replace the dust caps and spacers on each side. Tighten both lock nuts clockwise. Replace the wheel into the forks.
Tighten both axle nuts clockwise. Move the wheel hub sideways to check lateral movement. Spin the wheel easily. You should notice light drag, and the wheel rotation should slow in less time. Repeat the process if necessary to fine-tune bearing preload.
Rear Bearings
Rotate the pedals and shift the chain to the highest gear, which is the smallest sprocket on the rear wheel sprocket cluster. Rotate the adjuster knob on the derailleur three turns clockwise by hand.
Loosen the axle nuts and allow the wheel to settle in the dropouts. Loosen the pulley bolt on the derailleur with an Allen wrench and remove the idler pulley. Lift the chain off the sprocket. For a single-speed bike, loosen the axle bolts, slide the wheel forward in the frame arms and lift the chain off the rear sprocket.
Rotate the rear wheel easily as before and look for light drag. Proceed to adjust the bearing preload if necessary. Otherwise, repeat the previous step in reverse to reinstall the wheel and chain, remembering to readjust the derailleur by turning the knob counterclockwise three turns.
Remove the rear wheel from the bike. Loosen the lock nut on the non-drive side by turning it counterclockwise with an open-end wrench. Remove the spacers and dust cap from the non-drive side.
Rotate the cone flat a quarter turn clockwise with the cone wrench. Replace the spacers and lock nut onto the axle. Tighten the lock nut clockwise. Put the wheel back in the dropouts or frame arms and tighten the axle nut clockwise.
Spin the rear wheel by hand. Light drag indicates proper preload. Remove the wheel and adjust the preload if needed. Replace the wheel into the dropouts or frame arms and tighten the axle nut clockwise. Reattach the chain and rotate the derailleur knob clockwise three turns.
Tips
Bicycle hubs, bearing cones and cone flats vary. Refer to your repair manual or the manufacturer's website for bearing adjustment procedures. Typical rear hubs require non-drive side preload adjustment only.
Warnings
It is better to have less preload than excessive preload. Do not over-tighten cone flats.
References
Tips
- Bicycle hubs, bearing cones and cone flats vary. Refer to your repair manual or the manufacturer's website for bearing adjustment procedures.
- Typical rear hubs require non-drive side preload adjustment only.
Warnings
- It is better to have less preload than excessive preload. Do not over-tighten cone flats.
Writer Bio
William Machin began work in construction at the age of 15, while still in high school. In 35 years, he's gained expertise in all phases of residential construction, retrofit and remodeling. His hobbies include horses, motorcycles, road racing and sport fishing. He studied architecture at Taft Junior College.