
How to Make a Homemade Wakeboard
In recent years, wakeboarding has enjoyed an increase in popularity, which in turn has seen a rise in the development of gear. Modern wakeboards are generally made from injected foam wrapped with fiberglass or carbon fiber, but you can make your own just as effectively out of commonly found building materials. Making your own board will allow you to customize it directly to your preferences, which will enable you to perform better on the water for a fraction of the price.
Draw out the outline you would like for your board onto a sheet of plywood. Generally speaking, wakeboards should measure about 50 to 60 inches long, with a maximum width of about 10 to 14 inches. Test a few different sizes of boards before designing to determine which style best suits your skill level.
Cut out the outline using a jigsaw. Label one side of the board as the top and the other as the bottom.
Sand all surfaces of the board smooth to the touch using a belt sander with a rough-grit belt. Sand down the tip and tail of the underside of the board to help accentuate the rocker — the bend the board has from tip to tail. Sand the rocker into the bottom edge starting at the middle of the board and working toward either tip.
Create a more pronounced rocker by soaking the plywood board in a bathtub filled with hot water for about three to four hours to soften the wood and make it more pliable. Remove the board from the water, then support either end (tip) of the board on a fixed surface, and place a 50- to 70-lb. weight on the center of the board and leave it to dry for 48 hours. As the moisture evaporates from the soaked plywood board, the shape will become permanently transferred to the board.
Coat the board with a clear coat sealant. Cover all surfaces of the board with at least two coats of sealant to ensure water does not penetrate the wood once in use. Apply sealant in a well-ventilated area.
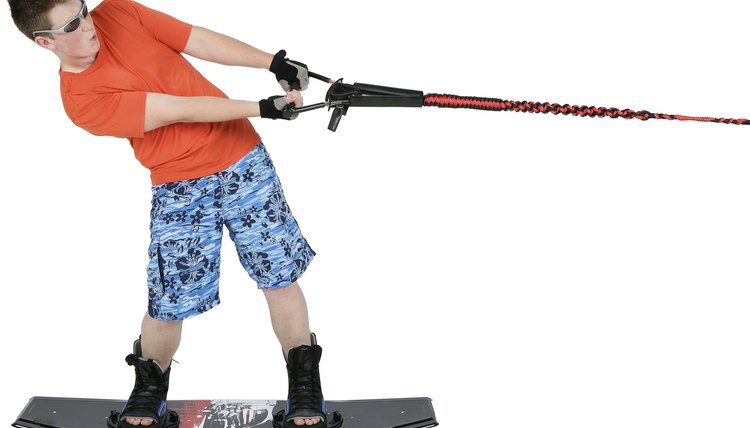
Add the bindings to the board. Select the mounting location and orientation based on your preference, then mount commercially produced bindings directly to the board by drilling out the mounting holes and attaching the bindings. Place a few drops of silicone sealant into each drilled-out hole to protect the board from absorbing water and rotting.
Add the fins to the underside of the board. Place them as you like, but note that four fins, evenly spaced at the underside corners works effectively for maneuverability and speed. Drill pilot holes for the fin-securing posts, add a drop of silicone sealant and insert the fins. The board is now ready for a test drive.
Tips
Paint on or apply any graphics to the board before applying the sealant to permanently decorate the board.
Warnings
Always wear appropriate eye protection when working with power tools.
Tips
- Paint on or apply any graphics to the board before applying the sealant to permanently decorate the board.
Warnings
- Always wear appropriate eye protection when working with power tools.
Writer Bio
Brandy Alexander began writing professionally in 1993. She has years of experience as a professional of the English language employed with the "Cape Times" and "The Mercury." Alexander holds a master's degree in English literature from Stellenbosch University in South Africa.