


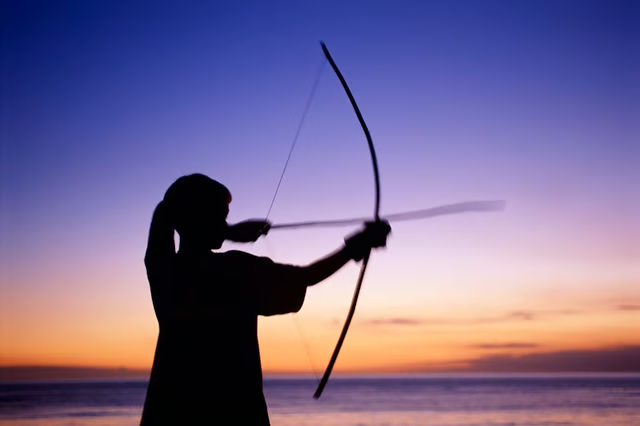
Making your own bow for archery may not be as difficult as you might think. Making a bow with the use of fiberglass can be done without prior experience in the comfort of your own home. With some commonly available tools and equipment you can put together a bow in no time that will last a long time and shoot well. Bow making is an art that must be practiced, so don't be discouraged if your first bow is not exactly how you would like it.
Trace the profile outline of your unstrung bow onto the flat side of your 2 by 6 inch plank. Whether making a recurve or a longbow, trace the pattern using an existing bow, or make an original. Be sure to include a well defined front and back line.
Cut out the bow template using a band saw creating a front and back press you will use later to clamp the bow into its shape.
Lay the front template on a table so the contoured side is facing upward. Prepare your epoxy mixture by combining the resin and hardener according to the manufacturer's directions.
Lay a strip of fiberglass cloth onto the contoured surfaces of the front template then paint on some epoxy using a paintbrush. Ensure the cloth has been uniformly saturated with the epoxy then add a second layer, followed by subsequent layers until the desired thickness has been attained throughout the bow. Be sure to build up the center riser section to an appropriate thickness before proceeding.
Place the back template clamp over the fiberglass and sandwich it between the back and front clamps. Use C clamps spaced every 6 to 8 inches to clamp the two templates together and shape the bow. Allow for 24 to 48 hours for the fiberglass to cure and harden before removing.
Remove the bow from the clamp then draw the contours onto the surface of the bow. This should include the riser, grip, arrow shelf, limb contours and the notches for mounting the string at the end of either limb. Cut along this line by feeding the bow into a band saw.
Sand the surfaces of the bow smooth using 200 grit sand paper followed by 440 grit paper. Paint, decorate or stain the bow as you see fit, then string and enjoy.
Warnings
Test the bow in a safe area, without other people or animals present.