
How to Convert Portable Basketball Hoops to Inground
Changing a portable basketball hoop to an in-ground system is a weekend project that will likely take about 8 hours of actual work time. An in-ground basketball hoop, is catered toward a more serious basketball player as it is much sturdier being cemented into the ground. By doing all of the digging and cement work yourself, which is quite possible for many people, you can significantly decrease the cost of this project.
Lay the portable basketball hoop on the ground in order to dismantle the rim and backboard from the pole. This will make it lighter and easier to cut and move.
Unscrew the backboard and rim from the upright pole using a screwdriver. All that should be left is the tall pole attached to the base unit.
Cut the pole with the hacksaw at the bottom of the unit where the pole attaches to the portable base unit. Discard the portable base.
Dig a hole in the ground that's twice the width of the pole and 6 inches deep. (If you are placing the goal in an area that already has a hard-top surface, you may need a jackhammer to start the hole.) Place the pole in the hole. With assistance from a level set against the pole, set the pole perpendicular to the ground. Have an assistant hold it in place.
Pour the ready-mix concrete into the hole and add water. Use the recommended guidelines for the type of ready-mix concrete you have purchased. It will tell you how much water to add for the amount of cement you want to use. Fill the hole completely until it is level with the ground. The hole should be 6 inches deep and twice the width of the pole. Allow cement to set overnight.
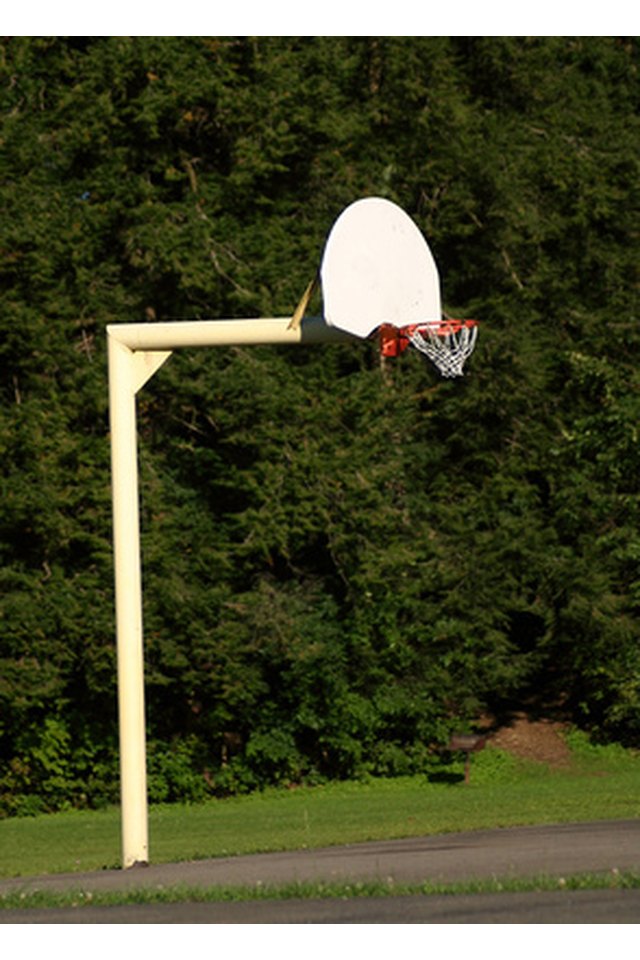
Replace the backboard and rim back onto the pole, using a screwdriver and ladder, after the cement has completely dried.
References
Writer Bio
Dan Falk has been writing professionally since 2008. He was an editor for the "Daily Nebraskan," his university's local newspaper, and is an accomplished writer for the sketch comedy group 3Bettys. Dan graduated from the University of Nebraska at Lincoln where he majored in English and filmmaking.