


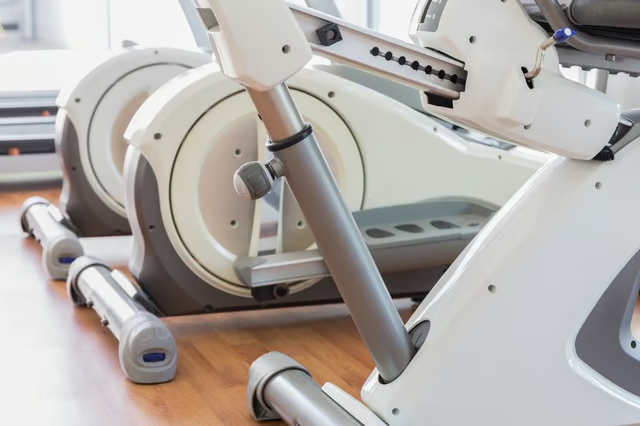
Proform ellipticals consist of pedals and a console unit attached to a drive assembly. As the user pushes on the pedals, the drive assembly provides resistance and sends information to the console. Over time, some of the components of the drive assembly may shift out of alignment. In order to correct the problem, you will have to use some basic hand tools to help you access the faulty component.
Reed Switch
Use the Phillips screwdriver to remove the screws that secure the drive mechanism's disc shields in place; if the shields are not held in place by screws, use a flathead screwdriver to turn the shields counterclockwise until they come free. Some models also come equipped with a top panel that you must take off prior to removing the side panels; use a flathead screwdriver to push in the tabs located at either end of the cover, then lift the cover free.
Examine either side of the drive mechanism and locate the reed switch, a small cylindrical device pointed towards the drive wheel. Turn the elliptical's pedals until you see a round magnet appear next to the reed switch.
Use the Phillips screwdriver to loosen the screw that secures the reed switch in place. Shift the switch close to the magnet, while still allowing enough of a gap between the two pieces for the wheel to move freely.
Turn the pedals and check the display on the elliptical's console; if the console is not registering the pedal movements properly, slide the switch back a little more. Continue adjusting the position of the reed switch until the console is working properly, then tighten the screw on the reed switch bracket.
Reinstall the drive mechanism's coverings and use the previously removed screws to secure the coverings in place.
Drive Belt
Remove the coverings from the drive mechanism as described above; some models may require you to remove the large side panels instead of, or in addition to, the drive mechanism's disc shields in order to gain access to the drive belt.
Inspect the interior of the drive mechanism and find the idler bolt and belt adjustment bolt, located near the drive belt. Use an open-ended wrench to loosen the idler bolt, then use the wrench to tighten the adjustment belt. Turn the pedals a few times to confirm that you have properly tightened the drive belt and make further adjustments if necessary.
Replace the coverings on the drive mechanism and use any previously-removed screws to secure them back into place.